Joining wood beams is an important task when it comes to structural framing, but if you’re unfamiliar with carpentry or basic building techniques, it can be a bit of a challenging task. Fear not! In this step-by-step guide, we’ll walk you through all the necessary steps required to accurately and safely connect two wood beams. With just a few tools and following these instructions, you will learn how to connect two wood beams efficiently and confidently. Let’s get started!
Different Methods for Joining Beams
The mortise and tenon joint
The mortise and tenon joint, renowned for its strength, is a powerful technique in woodworking. To create this joint, start by cutting a hollow area that is approximately one-third the thickness of one beam, extending two-thirds of the way into it. Carve a matching peg on the end of the second beam, ensuring it fits perfectly into the cavity. Apply wood glue to the peg and insert it into the hollow. While the adhesive sets, secure the beams together using clamps.
There are various methods available for cutting mortises and tenons, depending on whether you prefer to work with hand tools or power tools. For instance, you can employ a router with an up spiral bit to create the mortise or use a table saw and a jig to shape the tenon.
This joint is particularly attractive as it remains visually appealing with no visible hardware. The resulting connection between the wood pieces appears seamless, giving the impression that they are perfectly aligned and tightly fitted together.
Half lap joint
Create matching notches on the ends of your two lumber pieces, using either a table saw or a circular saw. These notches should be half the depth of the wood and have equal lengths. Apply wood glue to the notches, then carefully fit the pieces together, ensuring they interlock like puzzle pieces. Hold them securely until the glue sets and dries.
This joint provides an excellent solution when you want to combine two lengths of lumber into a nearly seamless single piece, especially since the joint itself won’t be visible.
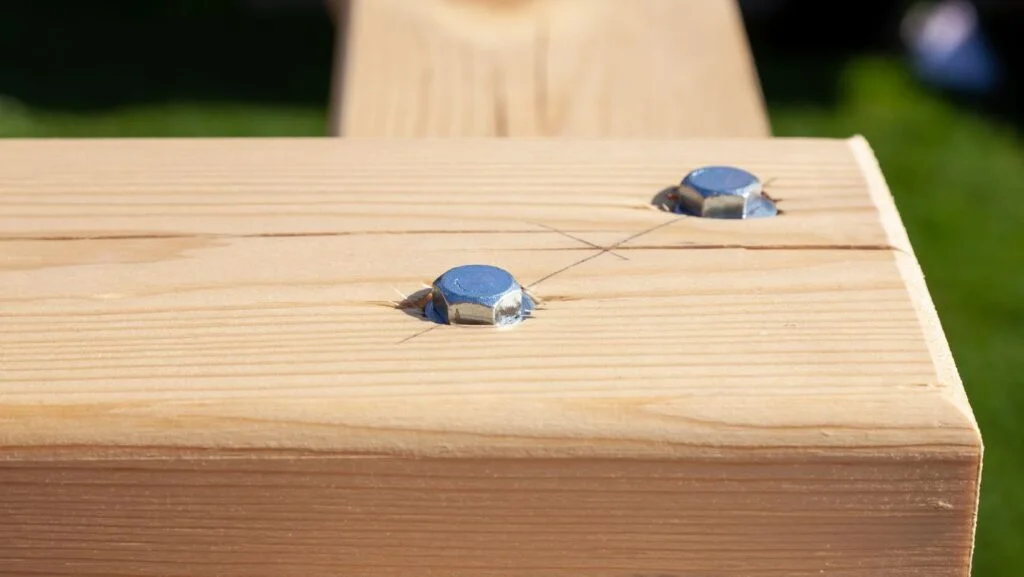
If you anticipate heavy loads on the beam you’re creating, you may want to enhance the joint’s strength by incorporating a bolt between the connected sections of wood.
While other types of joints exist for connecting wood end to end, lap joints are notably sturdier. Therefore, they are better suited for beams and more reliable in woodworking projects compared to other joint options.
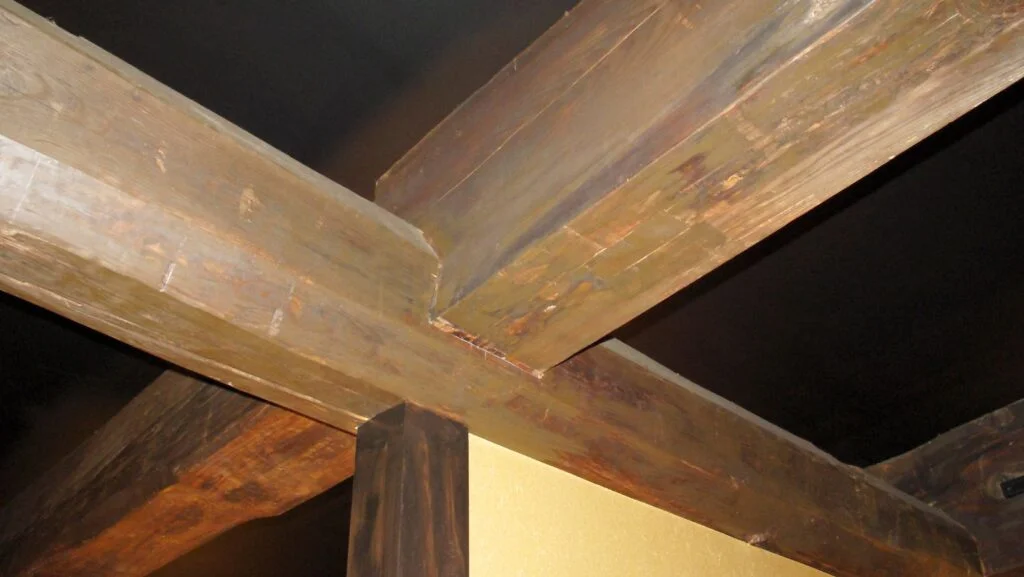
Miter joint
Utilize a miter saw to cut the ends of both wood pieces at precise 45-degree angles. Apply adhesive to the angled cuts and firmly join the two beams together. Use either wood screws or structural nails to connect the two pieces of timber at a 45-degree angle, making sure the screws or nails are inserted into the opposite piece at the join.
Miter joints excel when it comes to combining structural wood, such as beams, as they offer superior strength compared to simply butting the ends of the pieces together. When seeking a clean and robust 90-degree connection that is easier to create than a mortise and tenon joint, the miter joint is the ideal choice.
This type of joint resembles the corners of a wooden picture frame, providing a visually appealing and neat appearance.
How to Connect Two Wood Beams
- Get the beams ready: Make sure the ends of the beams are smooth and accurately cut to fit well together. Use measuring tools and a saw for precise cuts.
- Choose the right fasteners: Pick the appropriate bolts, screws, nails, or dowels based on the type of connection and the weight it will bear.
- Mark and line up the beams: Use a marker to show where the beams will connect. Align them properly to ensure a good fit.
- Make precise cuts: Remove the necessary parts from each beam to create a tight connection.
- Use wood glue: If you want extra strength, apply wood glue to the surfaces that will be joined. Follow the instructions for the glue’s application and drying time.
- Connect the beams: Depending on your chosen method, after connecting the beam on top with the one on the bottom, insert the fasteners into pre-drilled holes or directly into the wood. Tighten them securely to create a strong connection.
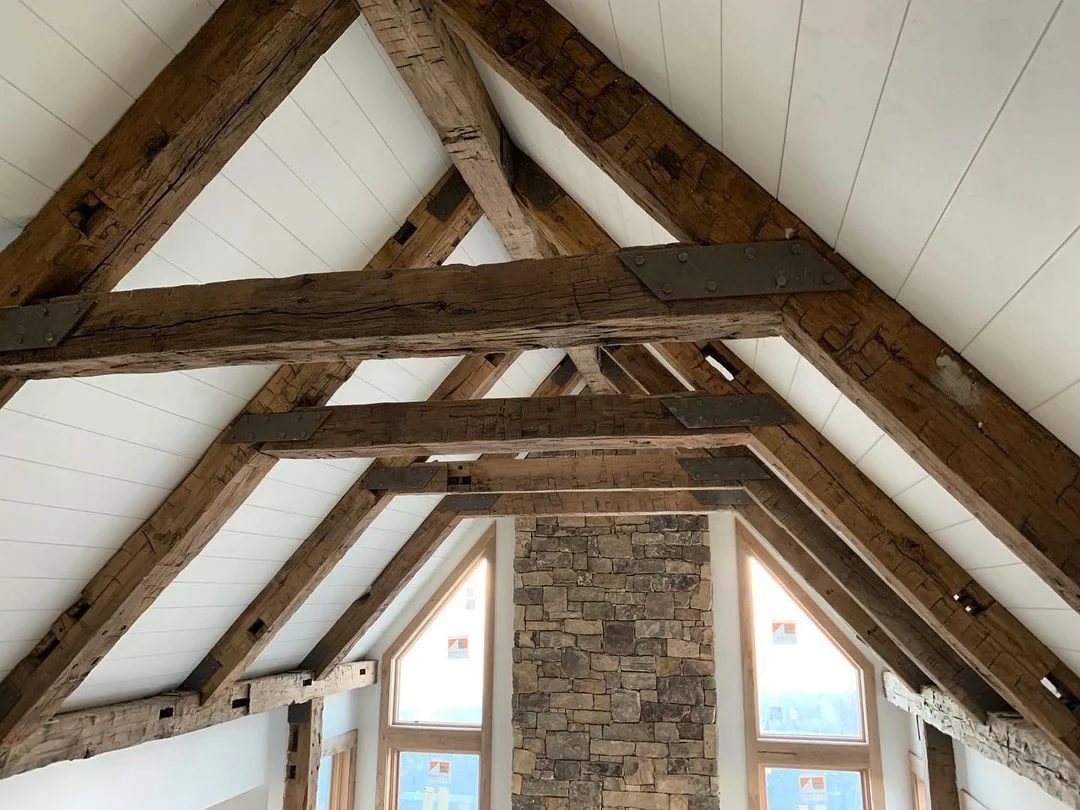
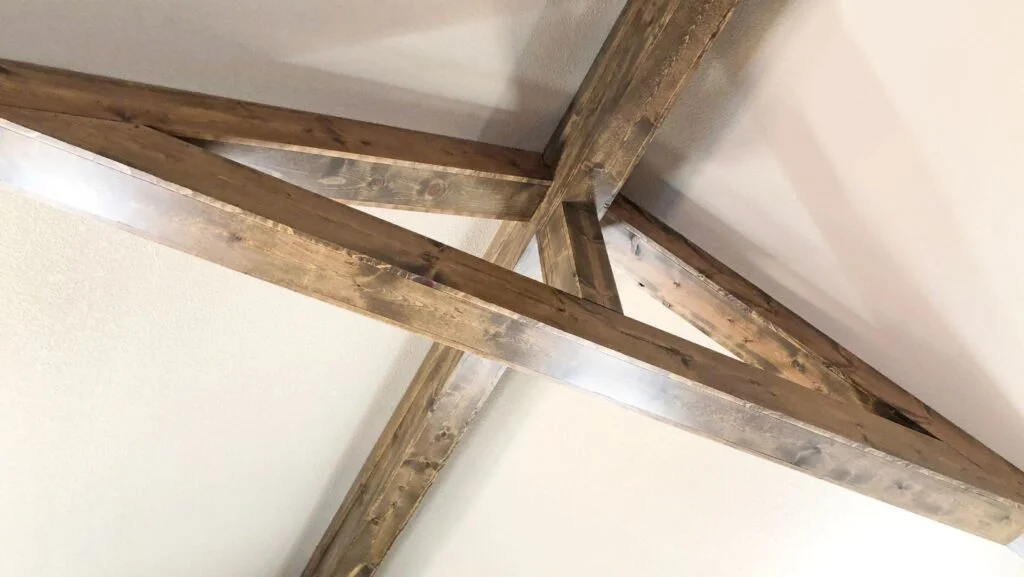
- Consider reinforcement: If needed, add metal plates, brackets, or angle irons to make the joint even stronger and more stable.
- Check the connection carefully: After joining the beams, inspect the joint to make sure it is secure and safe. Apply pressure or perform tests to ensure it can handle the expected weight.
All in all, connecting two wooden beams securely and successfully isn’t as hard as it may seem. With the right tools, supplies, and methods outlined above, you’ll be well on your way to having a solid connection that can hold up for many years to come. By following the tips outlined here, any do-it-yourselfer should feel confident in tackling this job from start to finish!