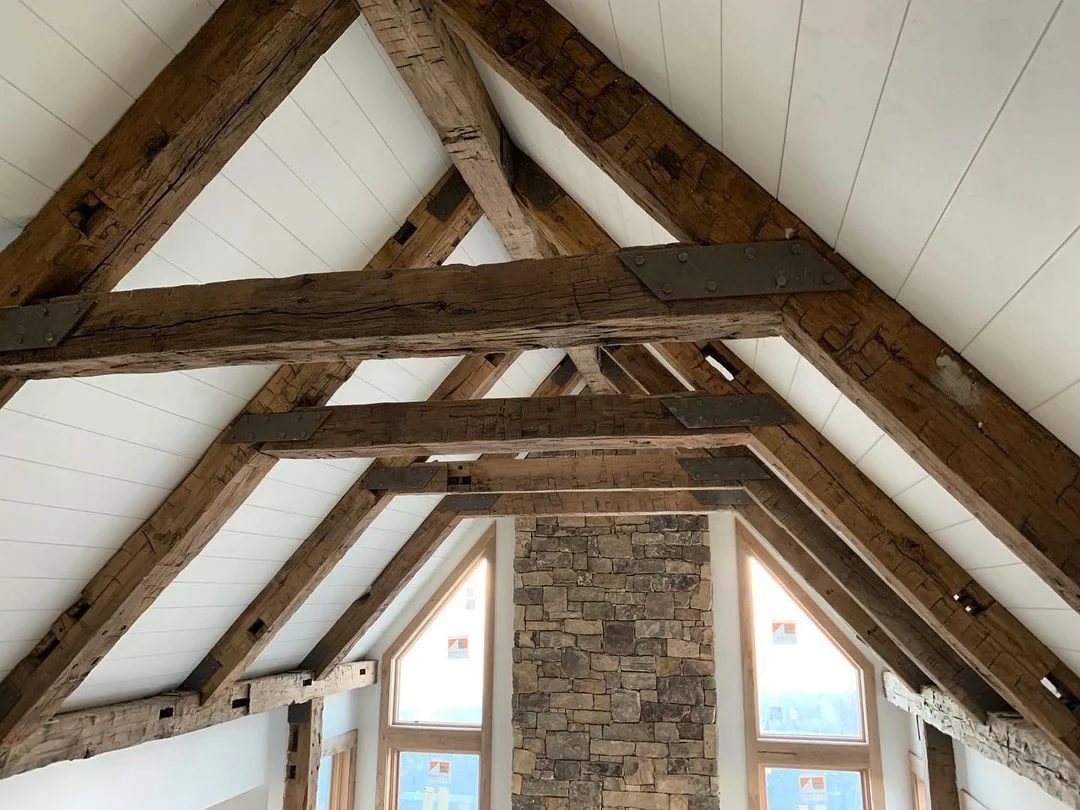
Do you dream of a home with a warm, inviting atmosphere? Installing tongue and groove flooring is an easy and economical way to dramatically improve the look of your space. From finding suitable materials to precise measurements and stunning finishes, this task will surely give you the satisfaction that comes with any successful DIY project. In this blog post, we’ll show you exactly how to install tongue and groove flooring in just eight steps so that you can get your dream interior flooring.
What Is Tongue and Groove Flooring?
Thanks to its longevity, appealing appearance, and ease of installation, tongue and groove wood flooring is a popular option in many houses. Individual boards are connected using a tongue-and-groove mechanism, with the groove along one edge of each board fitting over the slightly elevated tongue on an adjacent board. This sort of flooring is often prefinished, requiring just simple installation and periodic maintenance.

How to Install Tongue and Groove Flooring
1. Start with the First Row
- Put a board with the groove against the corner wall.
- Leave a little gap (about 3/16 inch) between the board and the wall.
- Mark where the subfloor’s tongue side meets the wall then move it to the other end of the room.
- Connect these marks using a chalk line.
2. Secure the First Row
- Add some construction glue along the chalk line.
- Place a plank on the line with the tongue facing it.
- Secure the board by using a finish nailer close to the groove.
3. Continue Securing and Installing Boards
- Slide shims or spacers between the flooring and walls.
- Nail down the tongues every 10 inches.
- Make sure the tongue and groove align properly for each new piece.
- Gently use a rubber mallet to connect pieces before nailing.
- Continue moving along the wall.
4. Prep and Install the End Pieces
- Keep the tongue side facing the wall.
- Flip the end piece over and mark it for cutting, ensuring there’s a small gap.
- Use a pencil to indicate where it lines up with the board before it.
- Using a miter saw, cut the board to the desired length.
- Fasten the end piece in place.
5. Switch to the Flooring Nailer
- Follow the previous steps until you get close to the wall.
- Place the board down and gently tap it using a rubber mallet.
- Secure the board using a flooring nailer through the tongue.
6. Keep Installing
- Keep tapping and nailing the flooring planks.
- Maintain at least a 6-inch gap between connected seams.
7. Transition for Final Placement
- As you get closer to the opposite wall, employ a flooring jack against the wall to ensure accurate positioning.
- Return to using the finish nailer and secure the boards by nailing through the front every 10 inches along the opposite wall.
8. Finishing Touches
- Fill nail holes with wood putty.
- Polish the surface for a smooth look.
- Put in the baseboard moldings to finish the installation.

Tips for Installing Tongue and Groove Flooring
- Go with the underlayment that the flooring manufacturer recommends. Similar to when installing hardwood flooring, when it comes to engineered flooring, it’s important to use an underlayment that can soak up sound. Depending on whether you’re installing the flooring on concrete or existing floors, the manufacturer might suggest a soft polyethylene-type barrier that also keeps moisture in check.
- When you’re putting the boards together, remember to gently snap them instead of using a lot of force. The grooves and ridges on engineered flooring are thinner and deeper than on solid hardwood. To connect the planks, angle the tongue of one piece into the groove of the piece that’s already in place, and then gently push down and in.
- If you need to connect the ends of the planks, stick to an installation block that’s approved by the manufacturer. You have the option to acquire these blocks individually, and they are designed to safeguard the edges of engineered and laminate planks. Steer clear of the typical hardwood technique of using a hammer to tap, as it could harm the edges of engineered planks.
- And keep in mind, if you’re laying engineered flooring over existing floors, it will elevate the floor height by roughly 3/8 to 5/8 inches. This might cause issues with the room’s doors. If they don’t operate smoothly, you might have to shave a bit off the bottom of the door. Also, if the floor in the next room is lower, you should think about using a transition floor threshold between the rooms. This threshold makes a smooth slope, getting rid of any tripping risks from a noticeable difference in floor heights.

Transform your space with the timeless charm of tongue and groove flooring. Whether it’s hardwood, laminate, or engineered wood, this DIY project is both visually appealing and durable. Prepare your subfloor, lay down a moisture barrier, and start connecting the tongue and groove boards, ensuring a snug fit with spacers. Stagger the joints, leave room for expansion, and finish the edges with baseboards for a polished look. Elevate your home’s aesthetic with this simple installation process.


