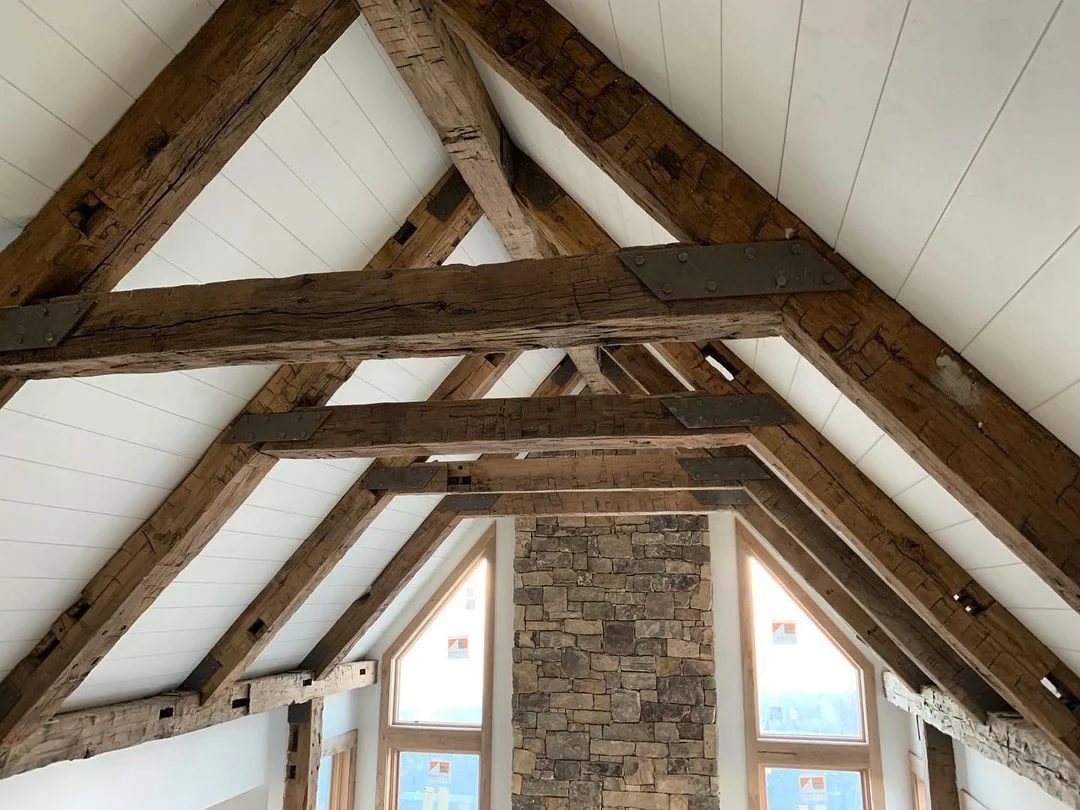
Overview of the Framing Process for Wall Corners
The process of framing a wall corner involves a number of steps, each of which needs to be carried out with utmost precision. To begin, it is necessary for you to assemble all of the required equipment and components, such as tape measures, saws, and nails. After that, you will need to make a mark on the corner, and then measure it, in order to determine the layout and the dimensions. Installing the bottom plate and studs, which together will serve as the corner’s support structure, is the last step in this process.
Essential Tools and Materials for Framing
Several tools are needed to frame a wall corner; a tape measure, carpenter’s square, level, power saw or hand saw, hammer, nail gun (optional), and chalk line or laser level for precise markings. Safety goggles and patience are also essential! Select larch for the bottom plate and studs, along with the adhesive, nails, screws, and joints needed for assembly. It is always best to select high-quality materials that will go the distance.
Marking and Measuring the Corner for Framing
Installing the Bottom Plate and Studs
Attaching the Top Plate and Securing the Corner
The top plate can be fastened now that the blocking and braces have been installed. A length of wood must be measured and cut so that it precisely fills the space between the wall’s two end studs. Prior to fastening the top plate to the wall, check for level and center.
Attach the top plate to the studs with nails or screws, making sure the connection is tight. Metal corner brackets could be used to further strengthen the joints at the corners. These brackets will help reinforce the corner and prevent it from moving around too much.
Insulating and Finishing the Framed Wall Corner
Tips and Best Practices for Framing Wall Corners
Avoiding common mistakes will improve your wall corner framing results. Insufficient blocking and braces can weaken corners. Failure to measure accurately when cutting the top plate can cause loose joints and unstable walls.
Level and square everything for professional corner framing. Straighten the studs, top plate, and corner braces with a level. Be sure to measure and adjust before securing anything. A sturdy and attractive wall corner requires precision, so don’t rush.
Remember to prioritize accuracy, use the right tools and materials, and pay attention to detail throughout the process. With practice, framing wall corners will become second nature, allowing you to tackle more complex projects with confidence. So go ahead, put your newfound knowledge to use, and create structurally sound wall corners that will stand the test of time.
We believe that all DIYers and construction workers should learn how to frame a wall corner. Follow this article’s steps and apply the tips and best practices to build a sturdy wall corner.